Create Itemised Permissions in Lists Using Power Automate
- Kyle Anderson

- Sep 13, 2020
- 4 min read
With Lists now being available in Teams, it gives us the ability to further integrate our working environment into the Teams UI. It allows for multiple users to work on a list housed in a single space, but what if you want the users working on that list to have limited view of the items in that list? In this post we'll look at using Power Automate to create customised permissions on list items, so that users only see their own records.
The Team
In our example we will setup a Team for a "Care Unit" with a channel for all the patients within the unit. Our catch is that we only want users to see their own patients and none of the details relating to the other patients.
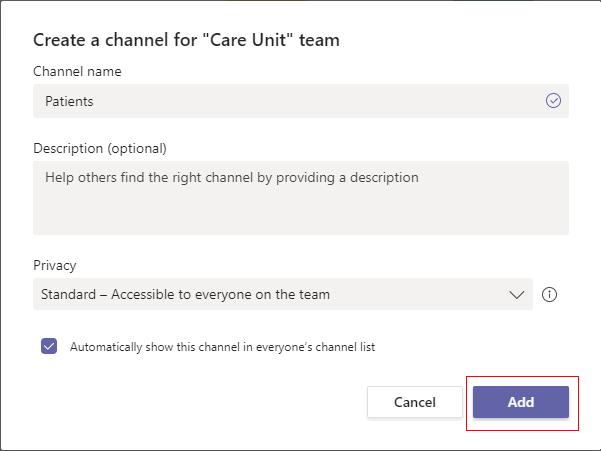
To start with, we'll setup a Team called "Care Unit" and add a channel called "Patients"
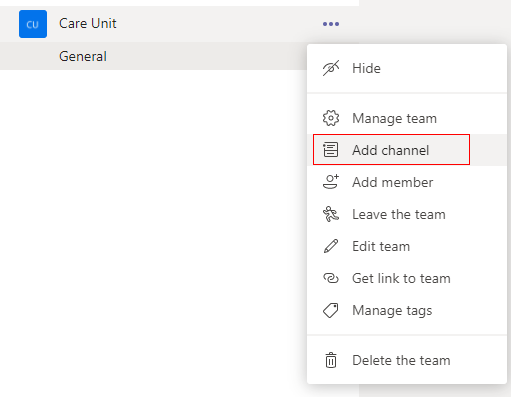
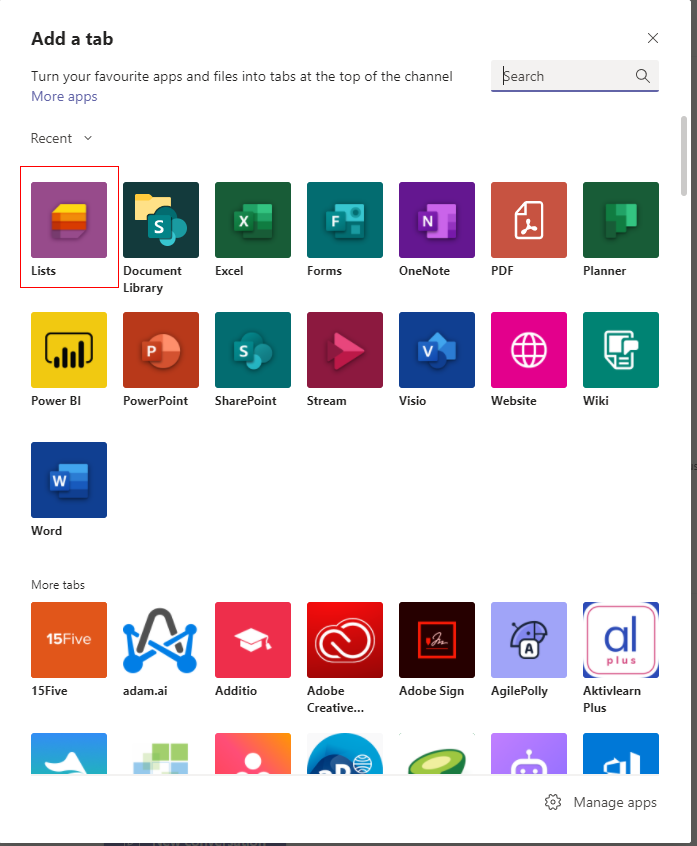
Now that we have our channel setup, we will click on the "+" icon in the channel tabs and select "Lists" from the menu.


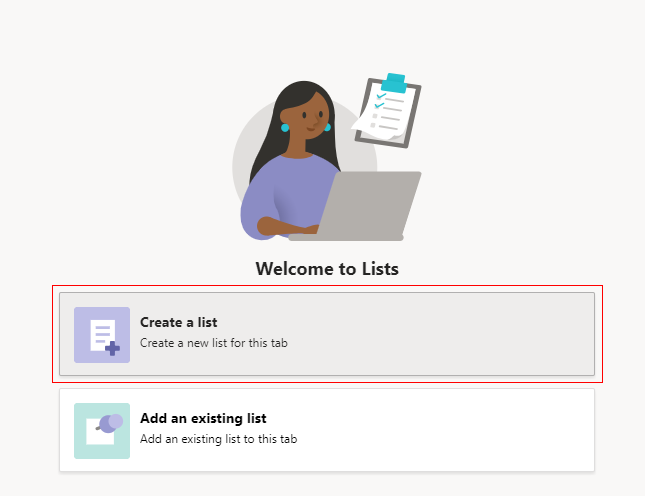
Now that Lists has been added, we select "Create a list" and for our example we will use the "Patients" template that Microsoft has provided for us.


With the list setup, we will open it in SharePoint by clicking on the ellipses and selecting "Open in SharePoint".


Custom Permission
For our example we are going to setup a new permission level to assign to our users. We want them to be able to edit records that have been created, but we don't want them to delete these records.
In SharePoint open list settings.

Select "Permissions for this list"

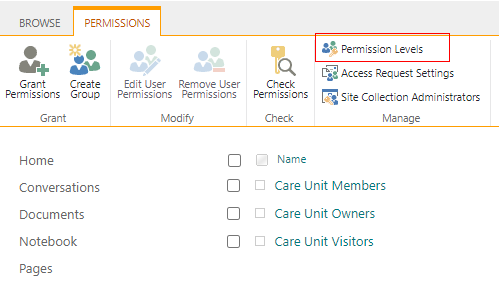
Navigate to the site Permissions

Select "Permissions Levels" and click on "Edit" - we are going to copy this permissions level and use it for our new custom permissions level.


Give your new permissions level a name and remove the "Delete Items" permission.

Once you have saved the permissions, right click on the permission in the list, and select "inspect"
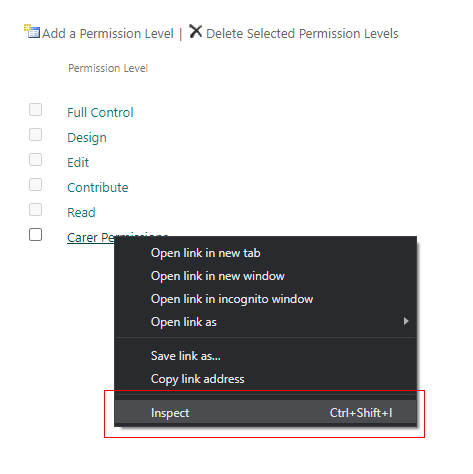
You will notice the "role ID" is available to us - copy this and save it, we will need it later.

The Flow
With our Team, list and custom permission setup, we can create the Flow that will set our itemised Permission.
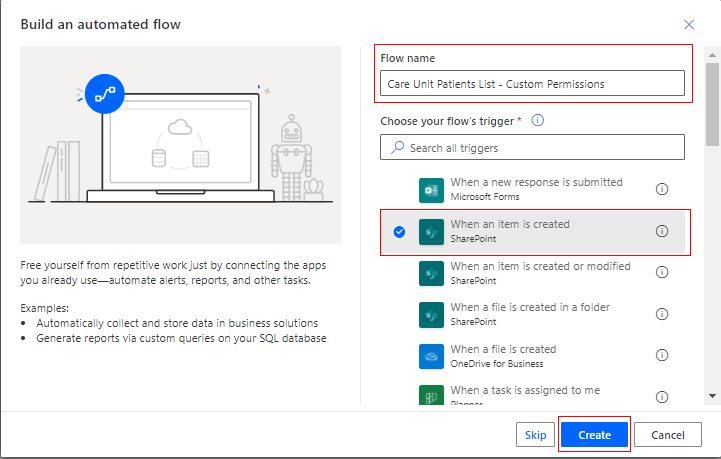
In Power Automate create a new "Automated" flow from blank.

Give your flow a name and select "When an item is created".
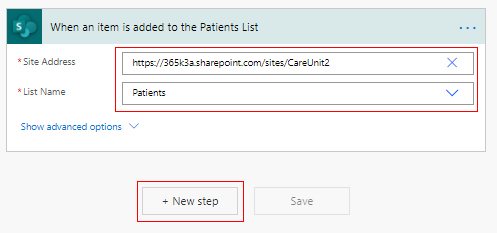
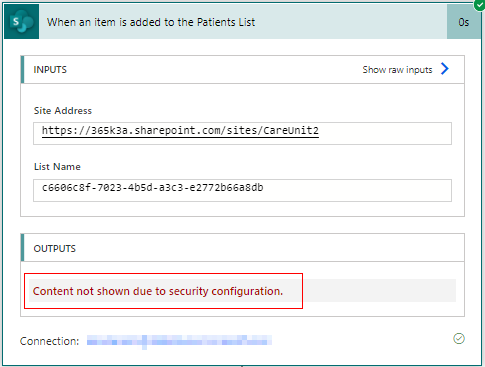
Add your site address to the trigger, select the "Patients" list and click "+ New step".
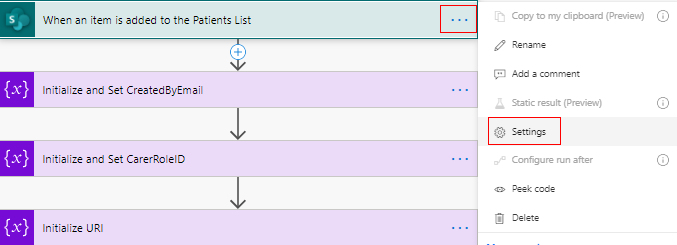
Find the "Initialize variable" action.

Give your variable a name and add the "Created By Email" option in "Dynamic Content"

Add another three variables including a variable for our new permissions level ID - here we will paste in the Role ID we copied earlier.

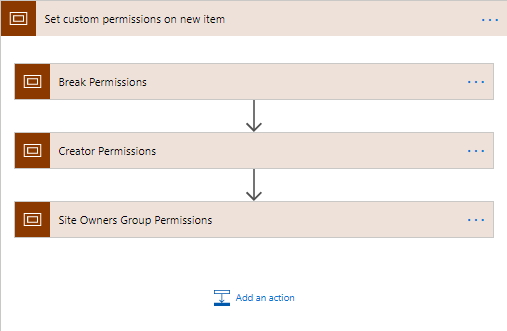
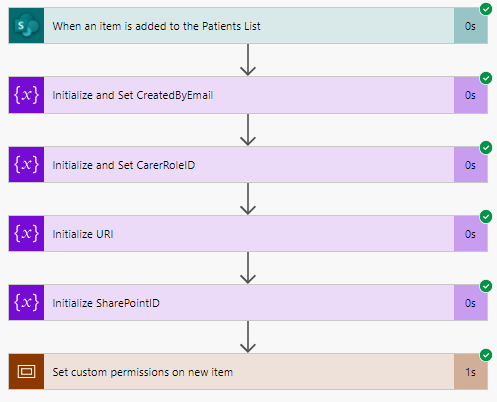
The first step we need to take is breaking the existing permissions on the item. This will break inheritance on the item and delete all the existing permissions. It will however add the account that is used to break the permission - in this case my account will be added to the item regardless of who has created it because my account is used for the SharePoint connection in the flow.
Add in a "Set variable" action and "Send an HTTP request to SharePoint" - this will be a "POST" request.

Set the "URI" variable - making sure the details are correct for your needs:
_api/lists/getByTitle('Patients')/items(@{triggerBody()?['ID']})/breakroleinheritance(copyRoleAssignments=false,clearSubscopes=true)
Now that the permissions are broken and cleared, we will use a "GET" request to find the users SharePoint ID so that we can assign them to the item. Reset the URI variable:
_api/web/siteusers/getbyloginname(@v)?@v='i%3A0%23.f%7Cmembership%7C@{variables('CreatedByEmail')}'
Set the "SharePointID" variable - edit the bold section to match the name of your "GET" request:
@{body('Get_Creator_SP_ID')['d']['id']}Then we will use the SharePoint ID to set the URI and create our new "POST" request - adjust the request to match your list and variables:
_api/lists/getByTitle('Patients')/items(@{triggerOutputs()?['body/ID']})/roleassignments/addroleassignment(principalid=@{variables('SharePointID')},roledefid=@{variables('CarerRoleID')})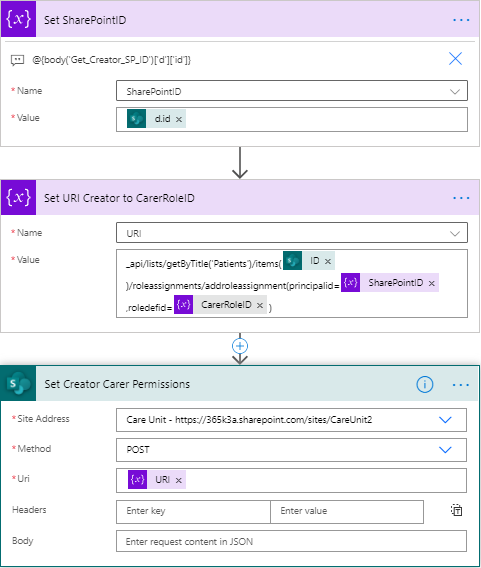
We can also assign permissions to a SharePoint group. Our next step will add the Site Owners group to the item.
To get the SharePoint ID for the group, set the "URI" variable - adjust to accommodate your group:
_api/web/sitegroups/getbyname('Care Unit Owners')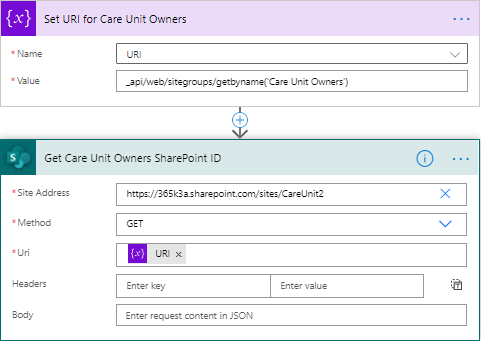
The permissions assignment is the same as it is for an individual, but we will now assign the owners full control:
_api/lists/getByTitle('Patients')/items(@{triggerOutputs()?['body/ID']})/roleassignments/addroleassignment(principalid=@{variables('SharePointID')},roledefid=1073741829)
Once the requests are setup, we'll wrap each of these into a Scope to clean up our Flow.
The last step we'll take is to protect any confidential data in the flow, by securing the output. Navigate to the trigger settings and select "Secure Outputs". This will secure the output when looking at the finished run.


Testing it Out
Now that the flow is setup, we can add an item and you'll notice that one user is able to see the item, and the other user is not able to see it.

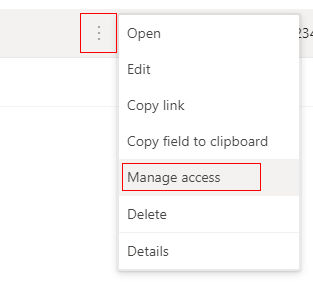
To see the permissions, click the ellipses on the item and select "Manage access".
You'll notice that the creator, myself (the flow connection account), the SharePoint owners group, and the Teams group owner (this will get added automatically as the List is in Teams) are the only users with permission on this item. You will be able to investigate the permissions closer by clicking on "Advanced".
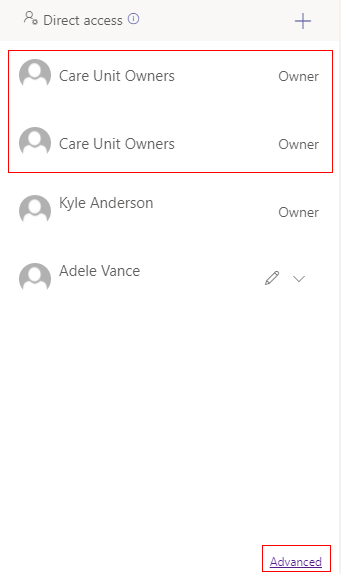
If you would like to remove the custom permissions, simply click the "Delete unique permissions" icon. You can also add users directly to the item from here.

Note: The Flow can sometimes take a few seconds to be triggered, in the time between the record being created and the Flow running, the item will be visible by all who have the ability to see the list. Once the Flow has finished running, the items will disappear from view on refresh. Please test this solutions thoroughly before implementing it to ensure it suits your needs.
The Conclusion
While this example adjusts the permissions based on the creator, it can be adjusted to a selected user/s instead. This example could be adjusted to prevent users adding and deleting records, and an "admin" could add the records and assign them to the users. This method opens a variety of ways that lists can be used in.


Comments