Bypass Connector Consent in Power Apps
- Kyle Anderson

- Aug 1, 2020
- 4 min read
Disclaimer: This solution is currently in development in my own development tenant and not being used in any production environment I am associated with. As a result, the full implementation has not yet been fully worked out and there is definitely room for improvement.
Why are we doing this?
If you have ever opened a Power App then you know that the first time you do it, you'll be asked to consent to the connections being used in the app. While this gives the user an idea of what is being used in the app, it isn't always what you want as an admin and app maker.
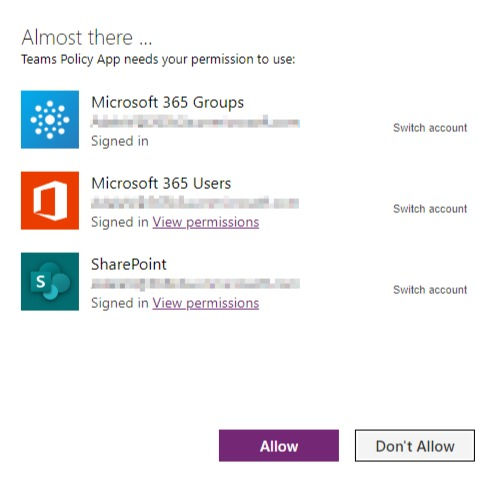
One of the reasons I turn these prompts off in my apps, is because I use Teams to catch errors in flows that are a connected to the app. This means that the user must consent to the Teams connection, even though they are not engaging with Teams directly.
How are we doing this?
Currently there is only one way to change this setting, and that is using PowerShell.
Before you can run the script, you will need to get the App ID which can be found in Power Apps by navigating to the "Details" page.
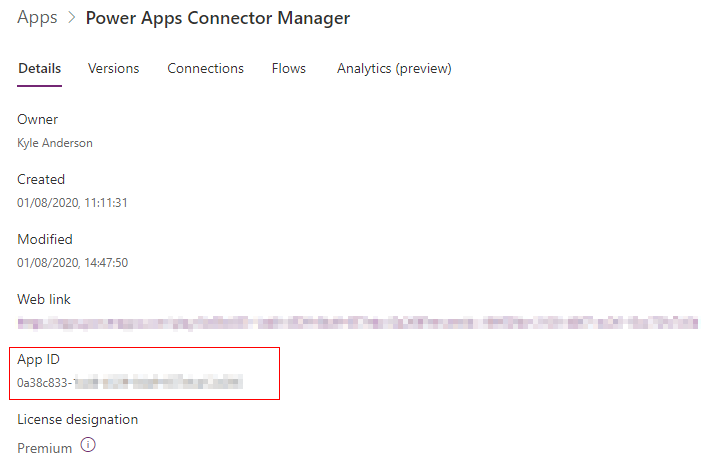
If you are going to run these commands on your local machine, you will want to install the Power Apps modules first.
Install-Module -Name Microsoft.PowerApps.Administration.PowerShell
Install-Module -Name Microsoft.PowerApps.PowerShell -AllowClobber
Once you have the modules installed and have found the app ID, you can run the script.
#Bypass consent
Set-AdminPowerAppApisToBypassConsent -AppName $AppID -ApiVersion 2017-05-01
#Restore consent
Clear-AdminPowerAppApisToBypassConsent -AppName $AppID -ApiVersion 2017-05-01
IMPORTANT: You can only edit this setting if you are an owner of the app, and the app is NOT open for editing.
Surely we can do better than that though?
Now that you know how to bypass these consent prompts using a script that is run locally, we can expand upon this by linking an Azure Runbook to a Power App UI using a Power Automate flow.
Be aware that the Azure Automation connector is a premium connector. End users using a Power App that contains a premium connector will need the correct license.
Before you start, you will need to setup your Azure Runbook. In a previous post, about Automating Teams Policy Assignment, I went into some detail about how you can do this. Once your runbook is setup, you can build your flow and your Power App.
Setting up the flow
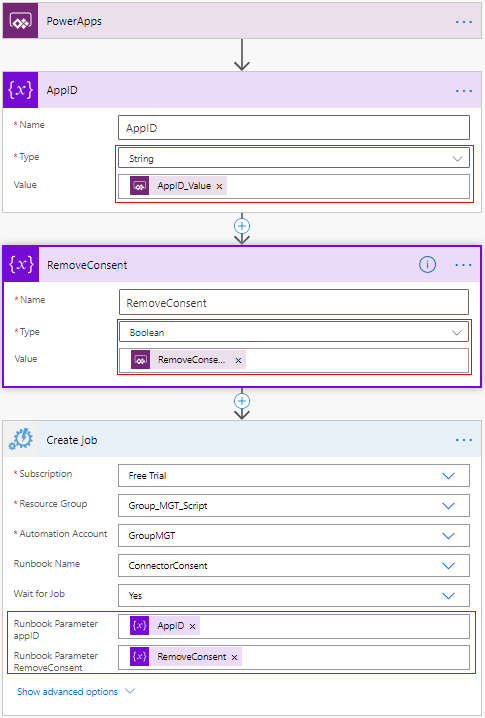
Because we will not be storing any data and all the info we need is retrievable in Power Apps, we can create a very basic flow consisting of two variables and the Azure Automation connector.
The first variable will be a string and pass the App ID directly from the app.
The second variable will be a boolean value and pass the opposite of the current "Bypass Consent" value. Both of these variables we can then pass to our script in Azure.
Setting up the Power App
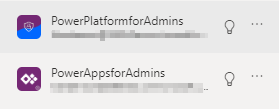
In order to retrieve all the info we need in Power Apps, we will need to add the "PowerPlatformforAdmins" and "PowerAppsforAdmins" connections (both of these are in preview).
Add a gallery to the app with the Items set to:
PowerPlatformforAdmins.GetAdminEnvironment().valueAdd a second gallery to the app with the Items set to:
PowerAppsforAdmins.GetAdminApps(galEnvironments.Selected.name).valueAdd a label to the gallery and use this formula in the Text property:
ThisItem.properties.bypassConsentConnect your flow to the app by clicking "Action" and selecting "Power Automate"


Add an icon to the gallery with the following formula in "On Select":
//!ThisItem.properties.bypassConsent will pass the opposite value of the current value
BypassConsent.Run(ThisItem.name,!ThisItem.properties.bypassConsent)
Your App Should now look roughly like the below

Setting up the Script
Once you have the Runbook ready, you will need to add the Power Apps PowerShell modules.
In Modules, navigate to "Browse Gallery", search for, and install the two packages we need.
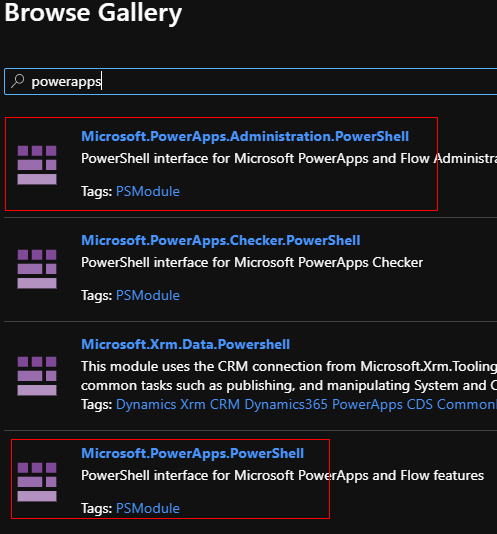
Having imported these two modules, we can add the credentials needed for our script to authenticate.

And finally, we can add our script to a new Runbook.

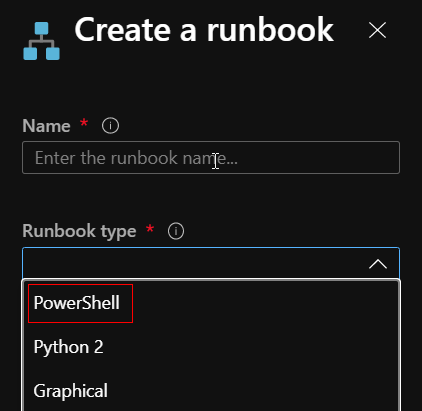
The Script:
#Add error handling as needed
#Get values from the task list via Power Automate
param
(
 [Parameter(Mandatory=$true)]
 [string]$AppID,
 [Parameter(Mandatory=$true)]
 [string]$RemoveConsent
)

#Get the credentials stored in Azure
$credentials = Get-AutomationPSCredential -Name 'AdminCred'
$AdminAcc = $credentials.UserName
$Password = $credentials.Password

Add-PowerAppsAccount -Username $AdminAcc -Password $Password

if($RemoveConsent -eq $true){
 #Bypass consent
    Set-AdminPowerAppApisToBypassConsent -AppName $AppID -ApiVersion 2017-05-01
}Elseif($RemoveConsent -eq $false){
 #Restore consent
    Clear-AdminPowerAppApisToBypassConsent -AppName $AppID -ApiVersion 2017-05-01
}
Once the script has been added, click "Publish" or it will not trigger correctly.

Our first test
Now that we have everything setup and connected, we can run our first test.
Back in our Power App, select an app from the gallery, and click the icon to trigger your flow.

Once the script has finished running you will be able to refresh the gallery by reselecting the environment to reload the apps gallery. Notice the "Bypass Consent" value has now switched to "true". If you open this app as a new user, you will not have to consent to the connector prompt.

To reactivate the consent prompt, simply click the icon again to rerun the script and it will switch the "Bypass Consent" value back to false.
In Conclusion
While you may not want to advertise this solution for wholesale adoption across your organisation, it is another example of how we can leverage PowerShell using Azure Runbooks and the PowerPlatform to bring greater administrative control to users who may not have the technical knowledge to fully immerse themselves in a code solution.


This is a great article and does exactly what I need, but unfortunately not working for me.
I'm getting an error running the PS command with the following message, anyone else running into the error?
😫 Exception calling "AcquireToken" with "4" argument(s): "Could not load type 'System.Security.Cryptography.SHA256Cng' from assembly 'System.Core, Version=4.0.0.0, Culture=neutral, PublicKeyToken=b77a5c561934e089'."
Thanks
Regards